Weather Station
A sensor reading is not a fact — it is a measurement, and this one checks before it believes.
- Arduino
- C++
- DHT11
- LCD
About this project
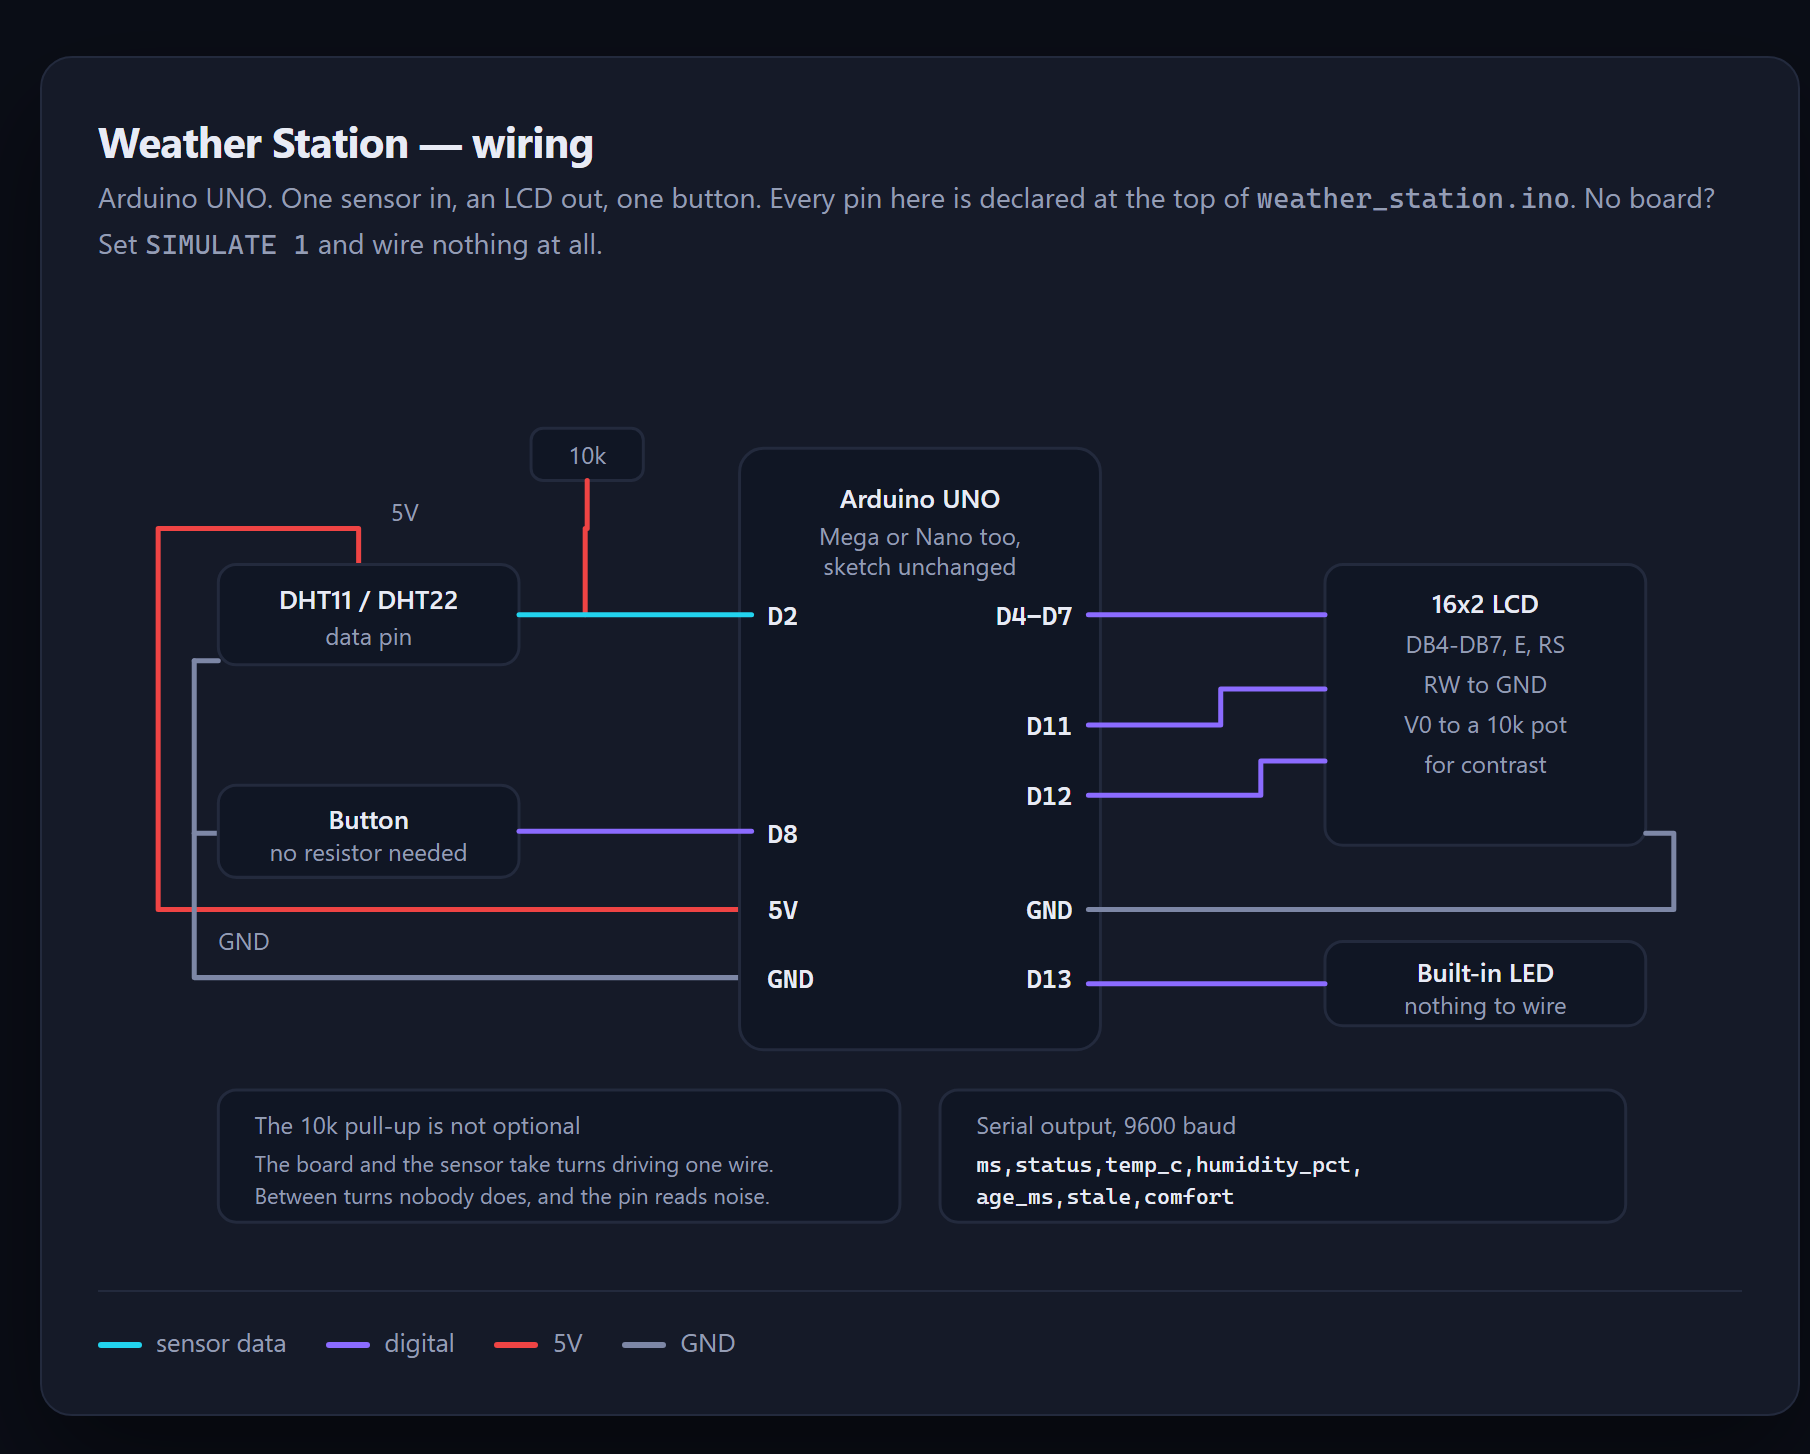
Temperature and humidity from a DHT11 or DHT22, printed to the serial monitor as CSV and shown on a 16x2 LCD, with min/max tracking and a comfort reading.
The idea it is built around is that a sensor reading is a claim, not a fact. A DHT does not always answer, does not always answer correctly, and does not answer now — it refreshes about once a second, so polling faster returns the same measurement again rather than a new one. Most versions of this project print whatever the library handed back. This one checks: did the sensor answer, did all five bytes arrive, does the checksum match, is the number physically possible. Only a reading that survives all four becomes the current value, and anything else leaves the last good reading in place and starts a clock on it, so the display can say the data is stale rather than showing an old number as though it were current.
There is no library to install: the sensor is read by the sketch itself, against the DHT's documented protocol, and every timing is a named constant with the reason beside it. Set SIMULATE to 1 and it manufactures its own frames — including a bad checksum, a silent spell and an impossible reading — so the whole project runs with nothing wired to the board.
What you will learn
- Read a DHT sensor from its own single-wire protocol, with no library to install
- Verify a checksum and reject a frame rather than displaying a corrupted reading
- Tell the difference between no reading and a reading of zero, on screen and in the data
- Mark data stale instead of showing an old number as if it were current
- Schedule with millis() so a button press is never swallowed by delay()
Before you start
- Arduino basics — setup, loop, and reading a pin
- The Arduino IDE, or Priodemy Labs if you have no board
- Optional hardware: an UNO, a DHT11 or DHT22, and a 16x2 LCD
New to Arduino? The free Arduino course covers everything this project assumes.
Academic integrity notice
These projects are provided for learning, experimentation and reference. Understand the code, modify it for your own requirements, and acknowledge external work according to your institution’s academic policies. Priodemy does not supply work to be submitted as your own.
Features
- DHT11 and DHT22 both supported, switched by one constant
- The single-wire protocol implemented in the sketch — no library to install
- Checksum verified and implausible values rejected, each with its own status
- Stale data marked on the LCD and flagged in the CSV, with the reading's age
- A simulate mode that runs the whole project with no sensor connected
- millis() scheduling throughout, so the button always responds
Technology stack
Track: IoT & Hardware · Level: Mini project
What is included
- weather_station.ino — commented throughout, including the protocol timings
- A README on the DHT protocol, validation, staleness and non-blocking timing
- Wiring table, parts list, and five suggested extensions
Delivered as a 18 KB ZIP. SHA-256 published under Changelog so you can verify it.
System requirements
- Operating system
- Windows for the Priodemy Labs simulator; any OS for the Arduino IDE
- Runtime
- Arduino IDE 2.x, or Priodemy Labs
- Hardware
- Optional — Arduino UNO, DHT11 or DHT22, 16x2 LCD, a 10k resistor and a push button
Licence
Learn from it, change it, and use it in your own coursework and personal projects. Do not resell it or pass it off as your own original work.
- Personal and educational use
- Modifying the code however you like
- Using it as the basis of your own coursework, with honest acknowledgement
- Putting your modified version in a portfolio or on your own GitHub
- Reselling or redistributing the project, modified or not
- Presenting it as your own original work
- Commercial deployment — see the Commercial licence
Support window: 6 months from download.
Frequently asked
Do I need the hardware to run this?
No. Set SIMULATE to 1 and the sketch generates its own sensor frames — including the failures the project is about — and prints everything to the serial monitor with nothing wired up. It also opens in Priodemy Labs, which gives you a virtual board and wiring.
Why write the sensor protocol instead of using a library?
Two reasons. There is nothing to install and nothing that can be the wrong version, which removes the most common reason a downloaded project does not compile. And the protocol is the interesting part — reading forty bits off a wire and checking them is the actual skill, and a library hides exactly that.
Why does the display say the reading is stale?
Because the sensor has not answered for three sample periods. The last good number is still shown, since it is the best information available, but it is marked so you are not misled. A failed sensor that silently reports 0.0 is how a project ends up claiming the room is at freezing point.
Changelog
- First release
SHA-2560ce97a4b91cda641a2d269229d37f8cd53f3a7777834cc3fbce625c920c6cd50
You might also like
 Free
Free Smart Home Automation
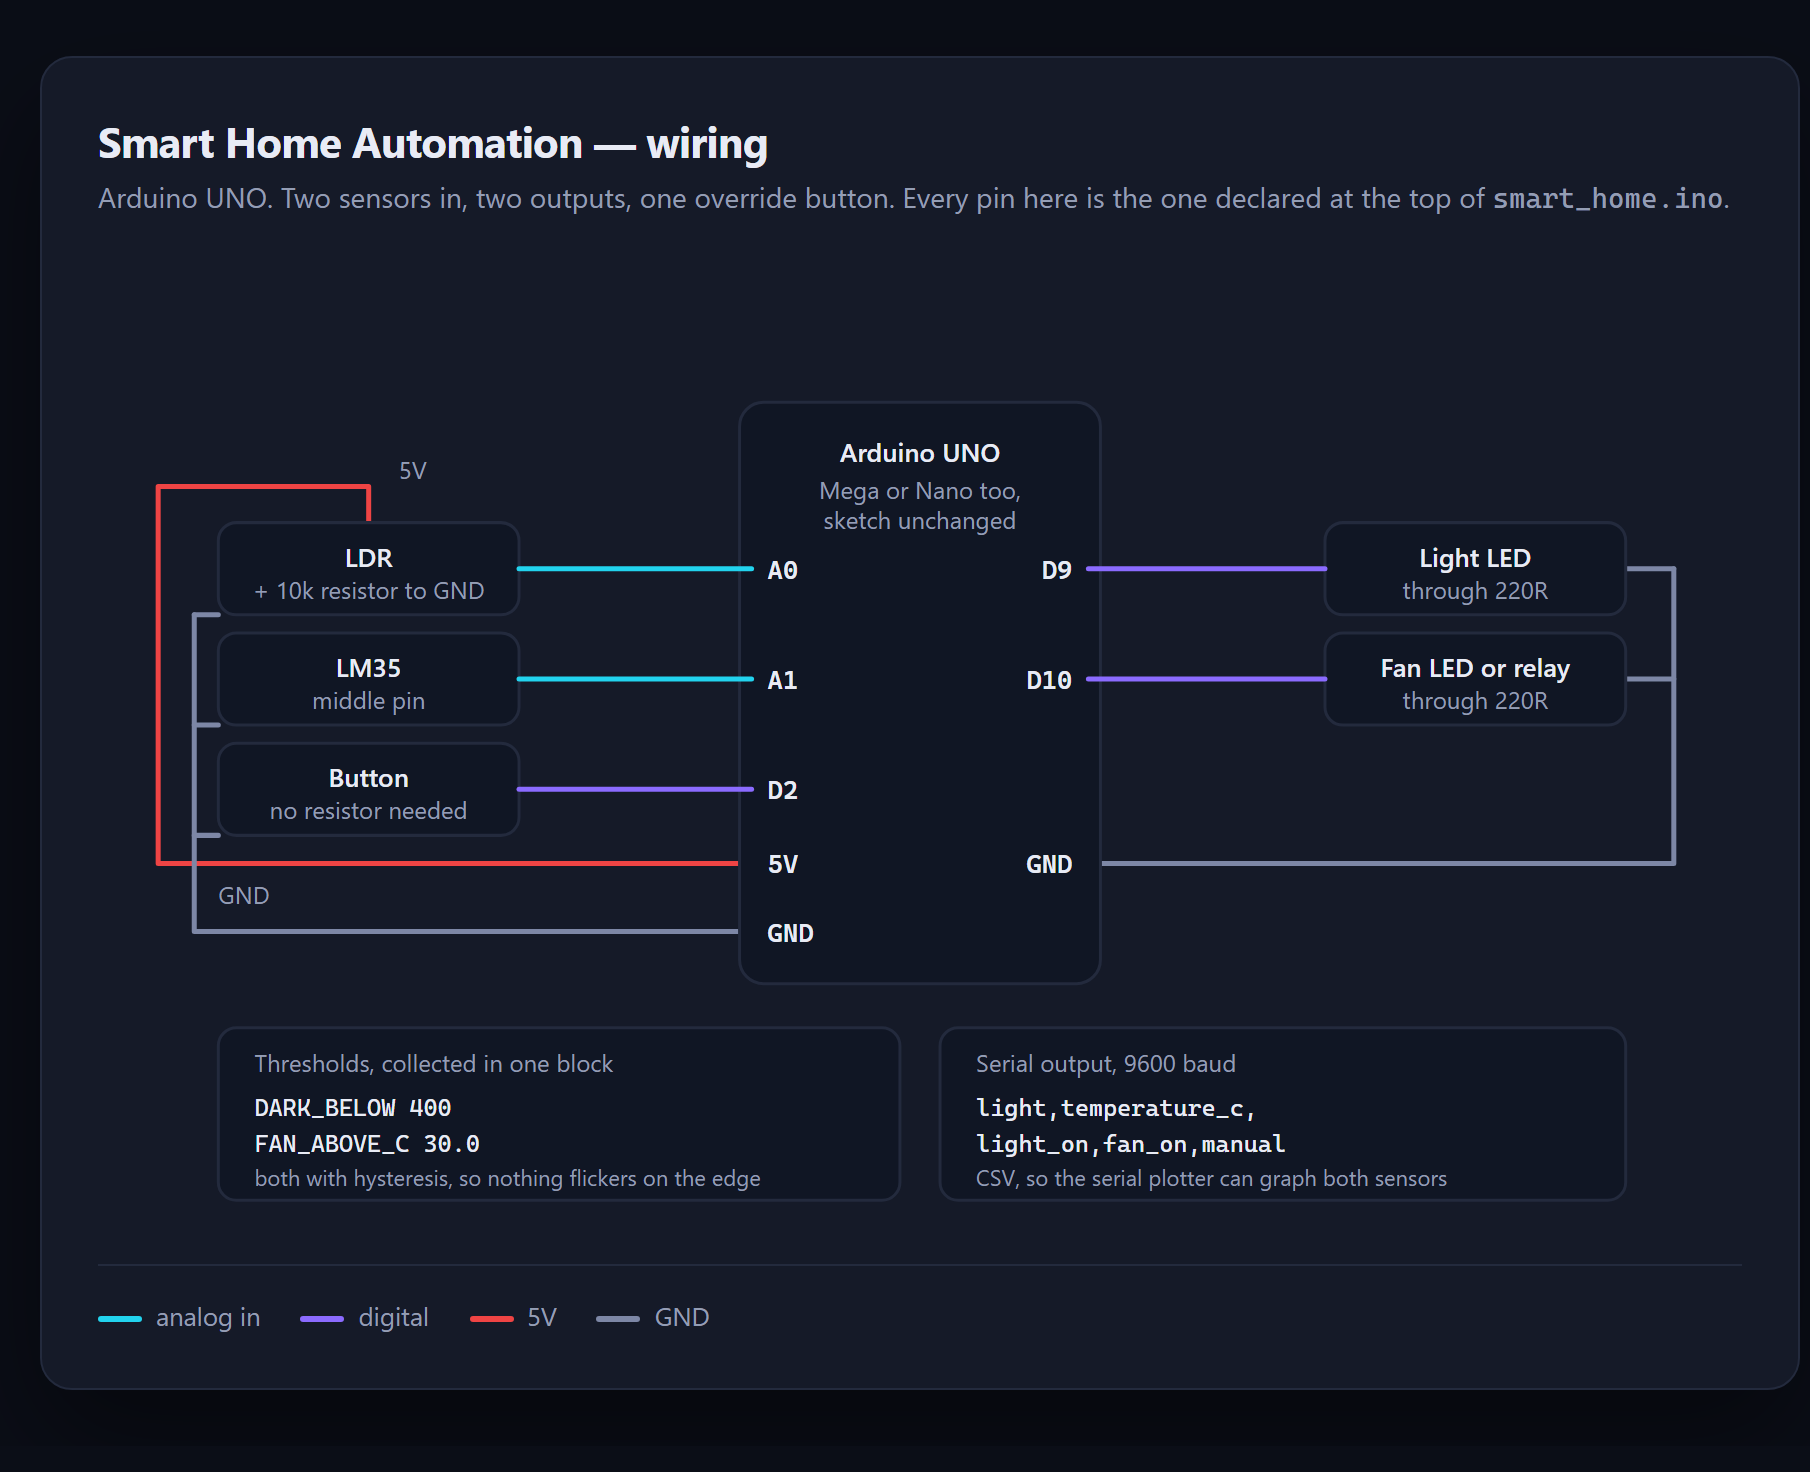
Control lights and a fan from sensors — and run it without owning any hardware.
- Arduino
- C++
 Premium
 Automatic Plant Watering
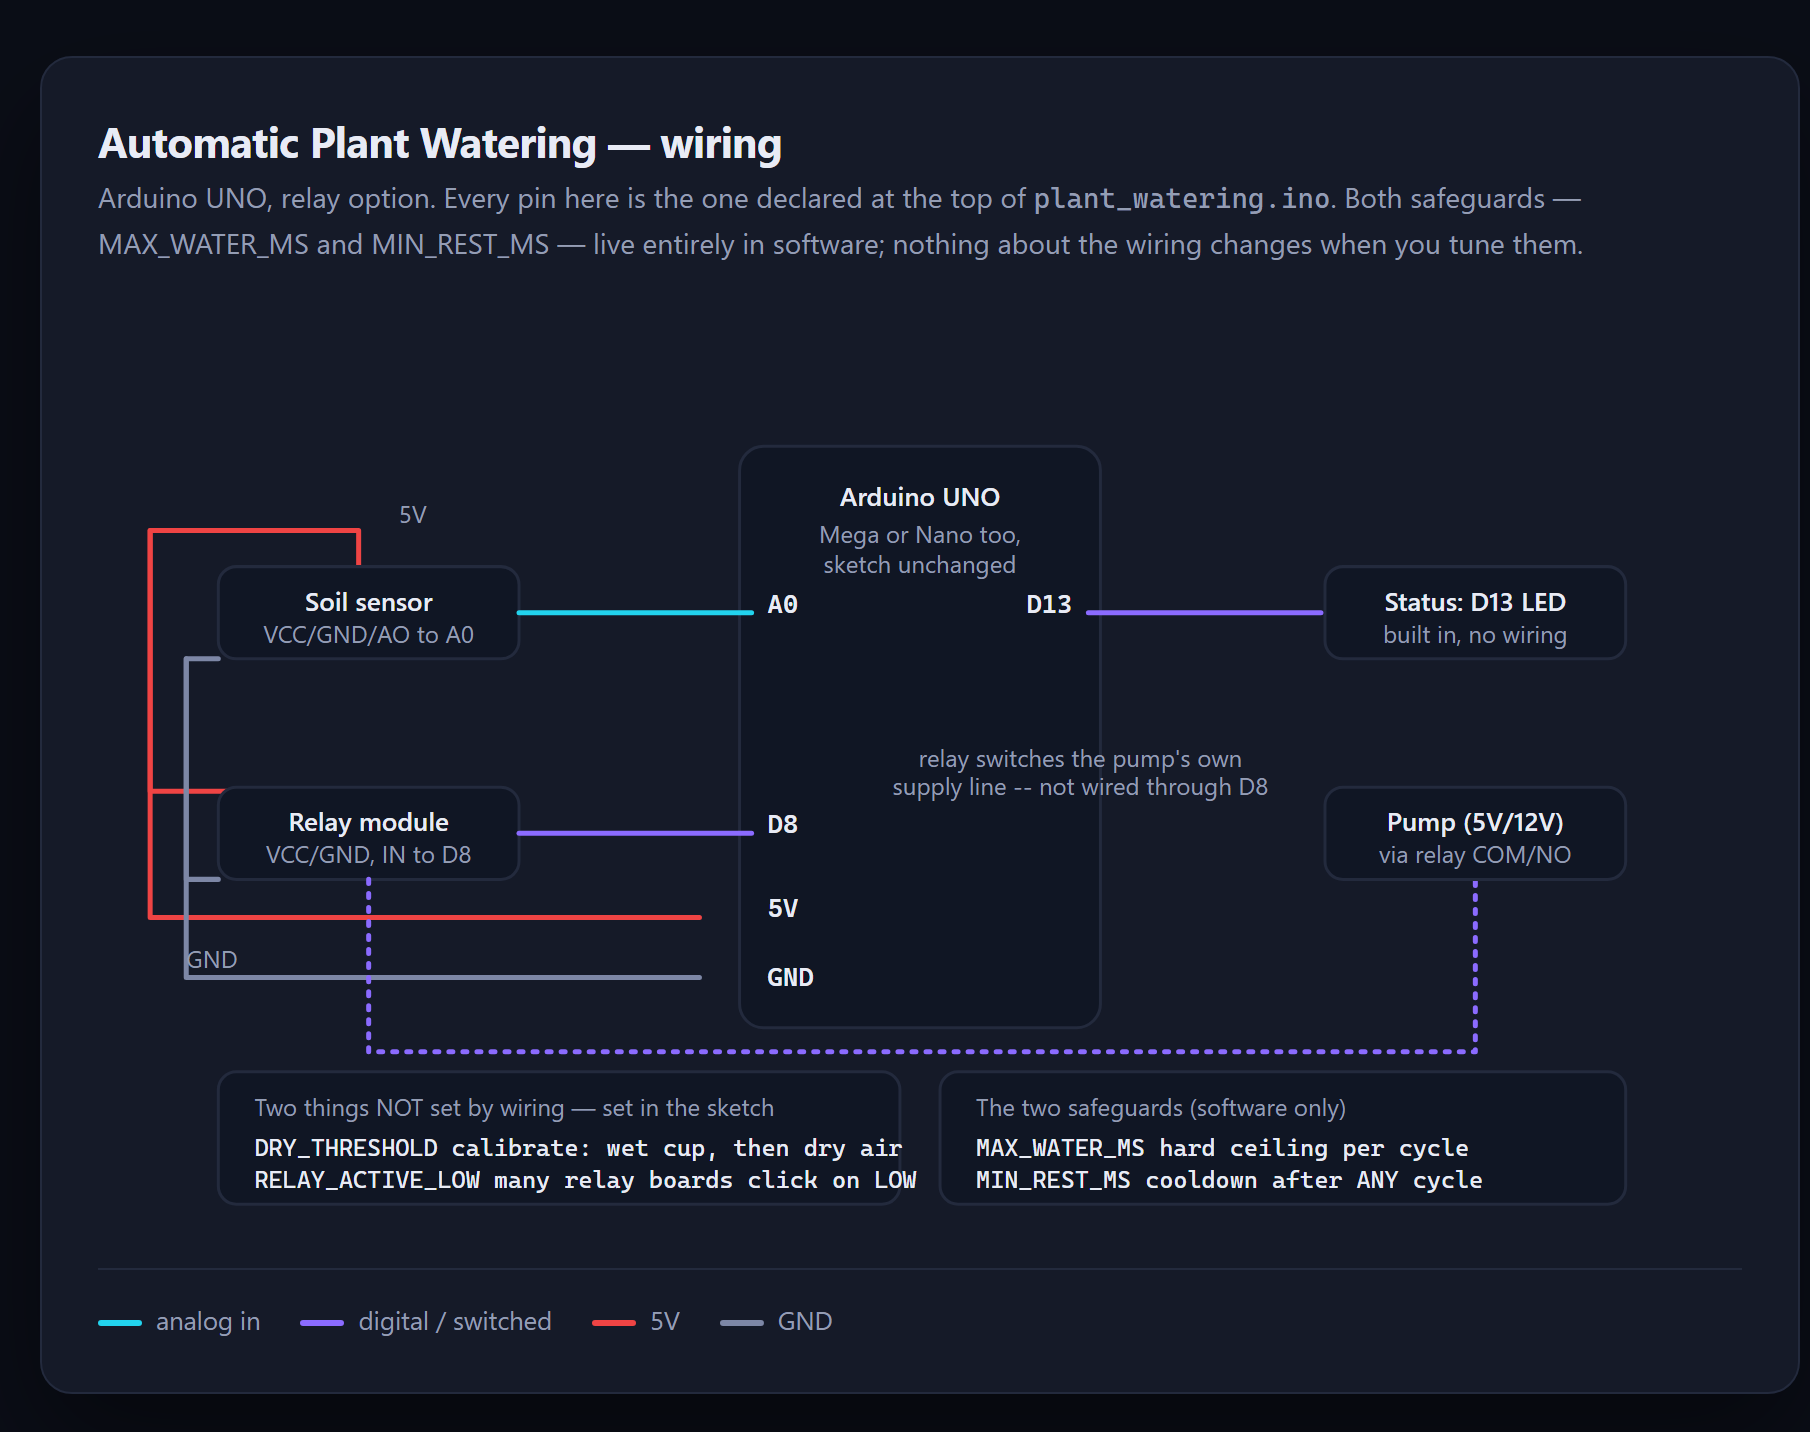
A stuck sensor does not mean "unsure" — it settles at one extreme and stays there. This sketch is built to survive that.
- Arduino
- C++
- Sensors
 Premium
 RFID Smart Parking System
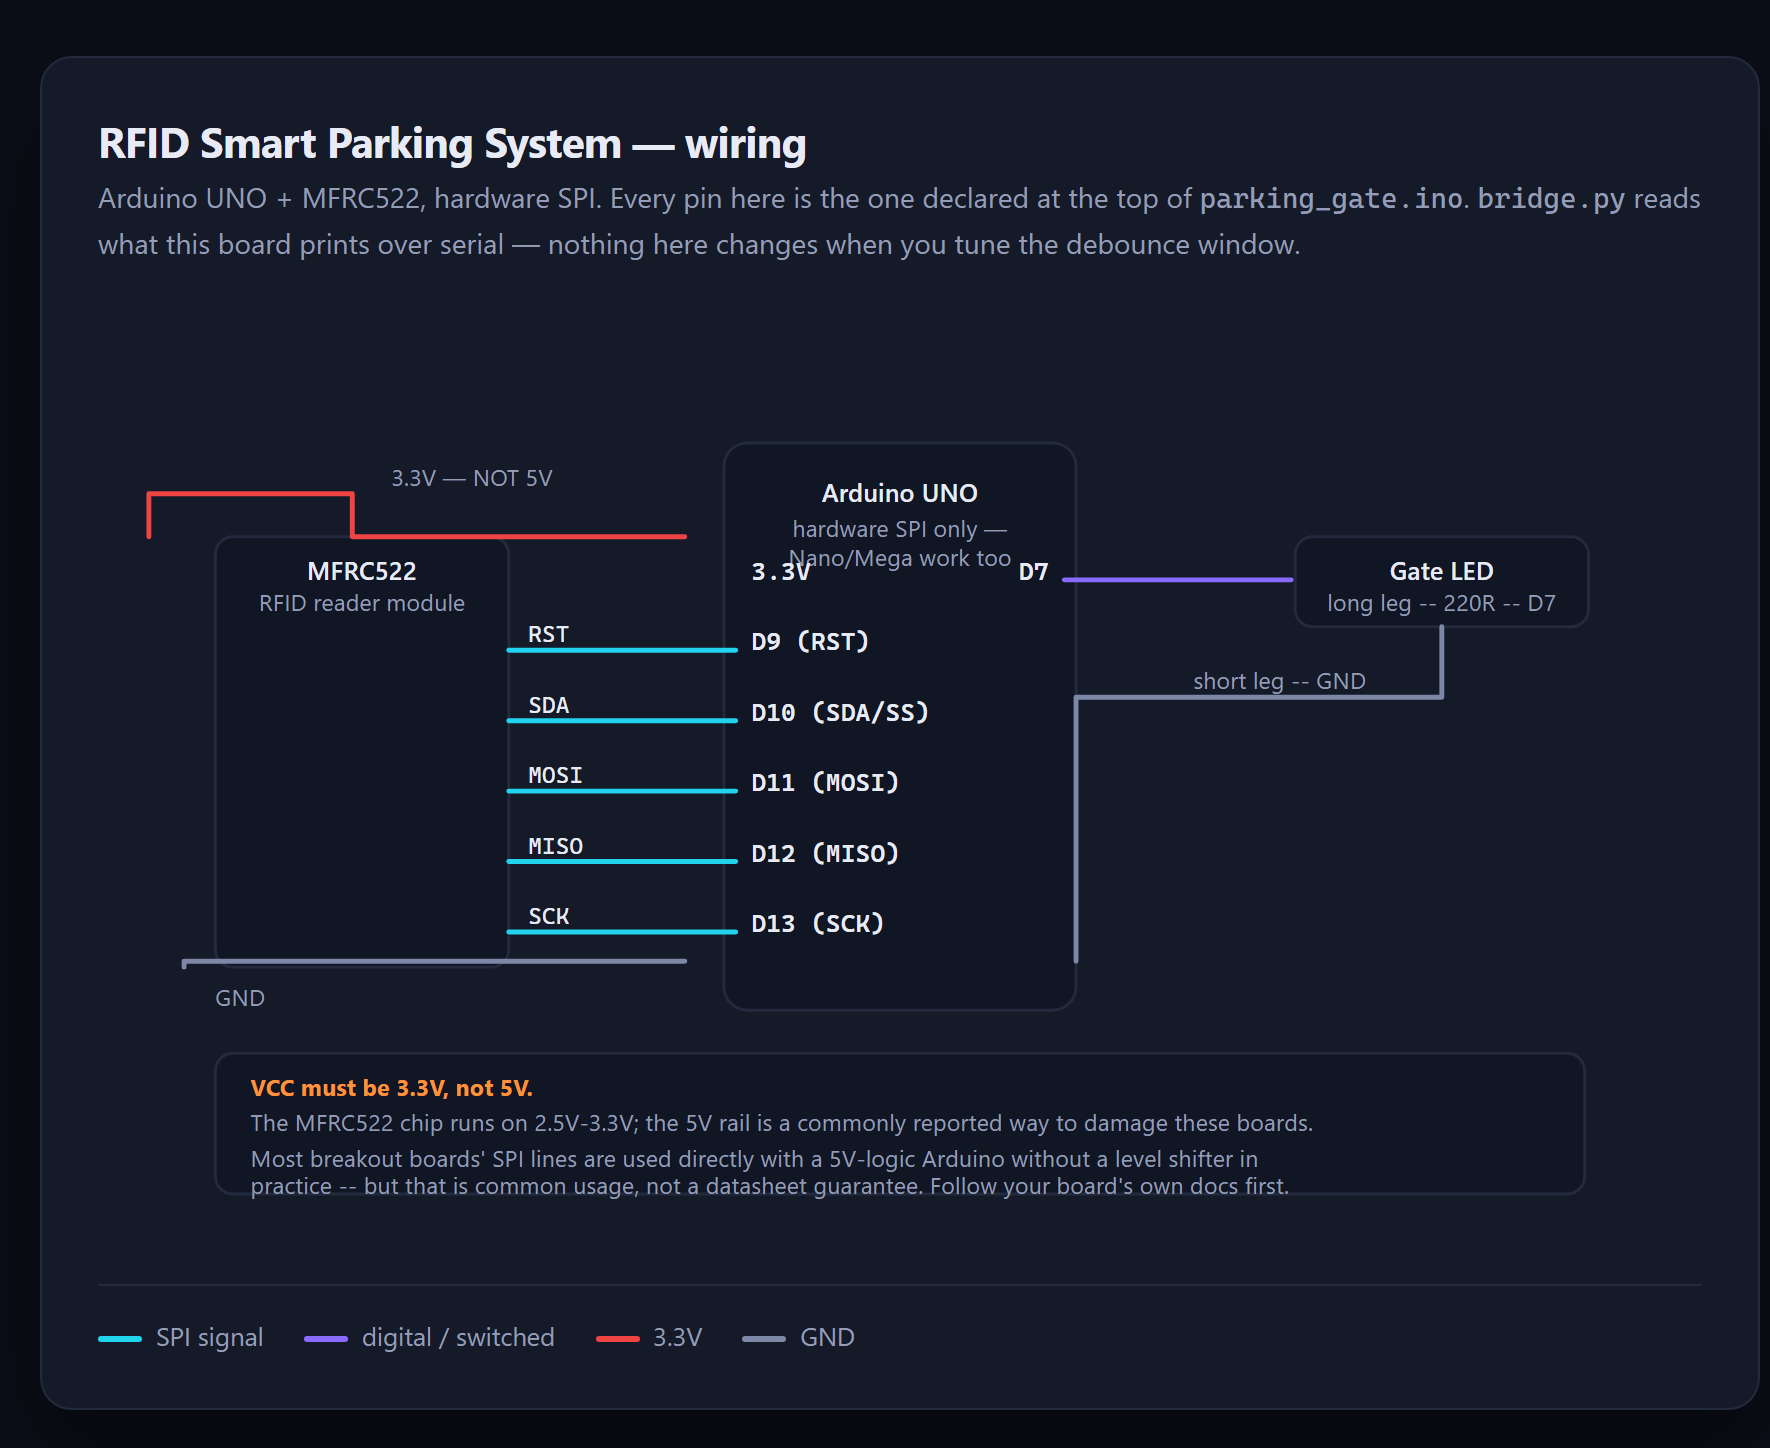
A reader does not report one tap — it reports a burst of reads, and only the database's own toggle can say what actually happened.
- Arduino
- RFID
- MySQL
 Premium
 Security Camera System
Counting HOW MANY pixels changed can't tell a cloud passing from a person walking through — counting WHERE they changed can.
- Raspberry Pi
- Python
- OpenCV